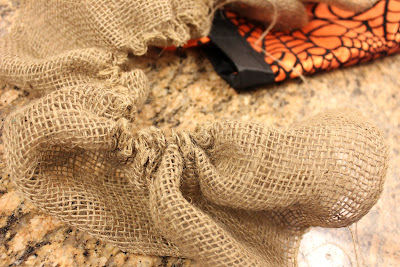
I began with Halloween themed place mats, a little ribbon (ok, a lot of ribbon, that's how I roll!) and my sewing machine.
This first one was made with just one place mat. I makes a smaller bag but, is perfect for any little Trick-or-Treating. First, I measured out ribbon for the handles. Pinned the ribbon in place and sewed them on.
Next, I folded the place mat right sides together and sewed it up both sides.
Next, pinch the newly sewn side to the bottom. This will be sewn to create a bottom for the bag.
This will create a nice bottom for the bag.
I like this little bag. Well....ALMOST!
After a few bows...it will be perfect.
I tied the bows and pinched the loops down.
Next...however wrong it may seem to any real "sewer"...I hot glued the ribbon to the bag. I hot glue lots of stuff...so what!?!
I simply lined them up and glued them on! EASY...LOVE HOT GLUE!
And of coarse...the little skeleton man had to make an appearance...he is on everything else this year. Why not the bag!?!
Now, I LOVE THE BAG! My Halloween dreams are coming true!
My son wanted in on the action too. He is a little older and figured his bag should be bigger than his sisters, of course! And to quote him exactly, "NO bows!" Alright, alright...I can accommodate the little guy. His turned out quite "manly". Well, as "manly" as a bag can be. He was pleased.
This bag was made with two place mats. I kept the positioning of the mats so the bag was wider and not so deep. This way the darling writing was readable. I did, however, insist there were a "few" decorative details. I "fancied" up the straps by layering ribbon and added my token skeleton man to the handle. He was happy with these additions.
Restraint is difficult for me and I feel like I was able to accomplish that with this bag...I am so proud of myself. It was so hard for me to not go over board. I made up for it with the next bag!!!! A little excessive I'll admit, BUT I do love it!
This was made from two place mats turned so the short side is the top. It made for a deeper bag.
I turned the edges down before I sewed the place mats together. I liked the look of the black at the top.
Once edges were turned down I put the bag together like I did the others.
All that was left was some ruffles. I love ruffles.
This bag makes me want to go Trick-or-Treating! I have not been tempted for quite a long time now but, this bag did it!
LOVE THESE BAGS!!! Happy Trick-or-Treating!!!


I love these bags Shellie!
ReplyDeleteI want one just for myself :)