

I spent this morning sharing some of my HALLOWEEN PARTY IDEAS with my dear friends on the Channel 12 morning show. It was (as always) such a pleasure to be with them. This is the link if you are interested. http://www.azcentral.com/video/1901450278001

FYI...the following contains all the fun things we talked about today.

For beginners...The giant pixie sticks. Yeah...it is huge plastic tubing of sugar...so what...it is Halloween! They are cheap...they add height to my table, and they are adorable! Well...after I changed the packaging a little. If I am going to put time and money into something I really like it to serve two purposes. It makes a killer Halloween decoration for my table and it serves as a "take away" for all my little guests. I basically am killing two Halloween "birds" with one giant stick of sugar! LOVE IT!


Then I got a little tricky and instead of making all square wrappers, I made some of them flags and banners. I love each one!

I stuck the pixie sticks into a tall glass jar with candy corns. The candy helped to hold them in place.

They were perfect and fun. They would be a fun and simple craft for the kids to get involved in!

I have to admit...I play favorites...I can't help it....this next thing is such a fun craft to make for Halloween.
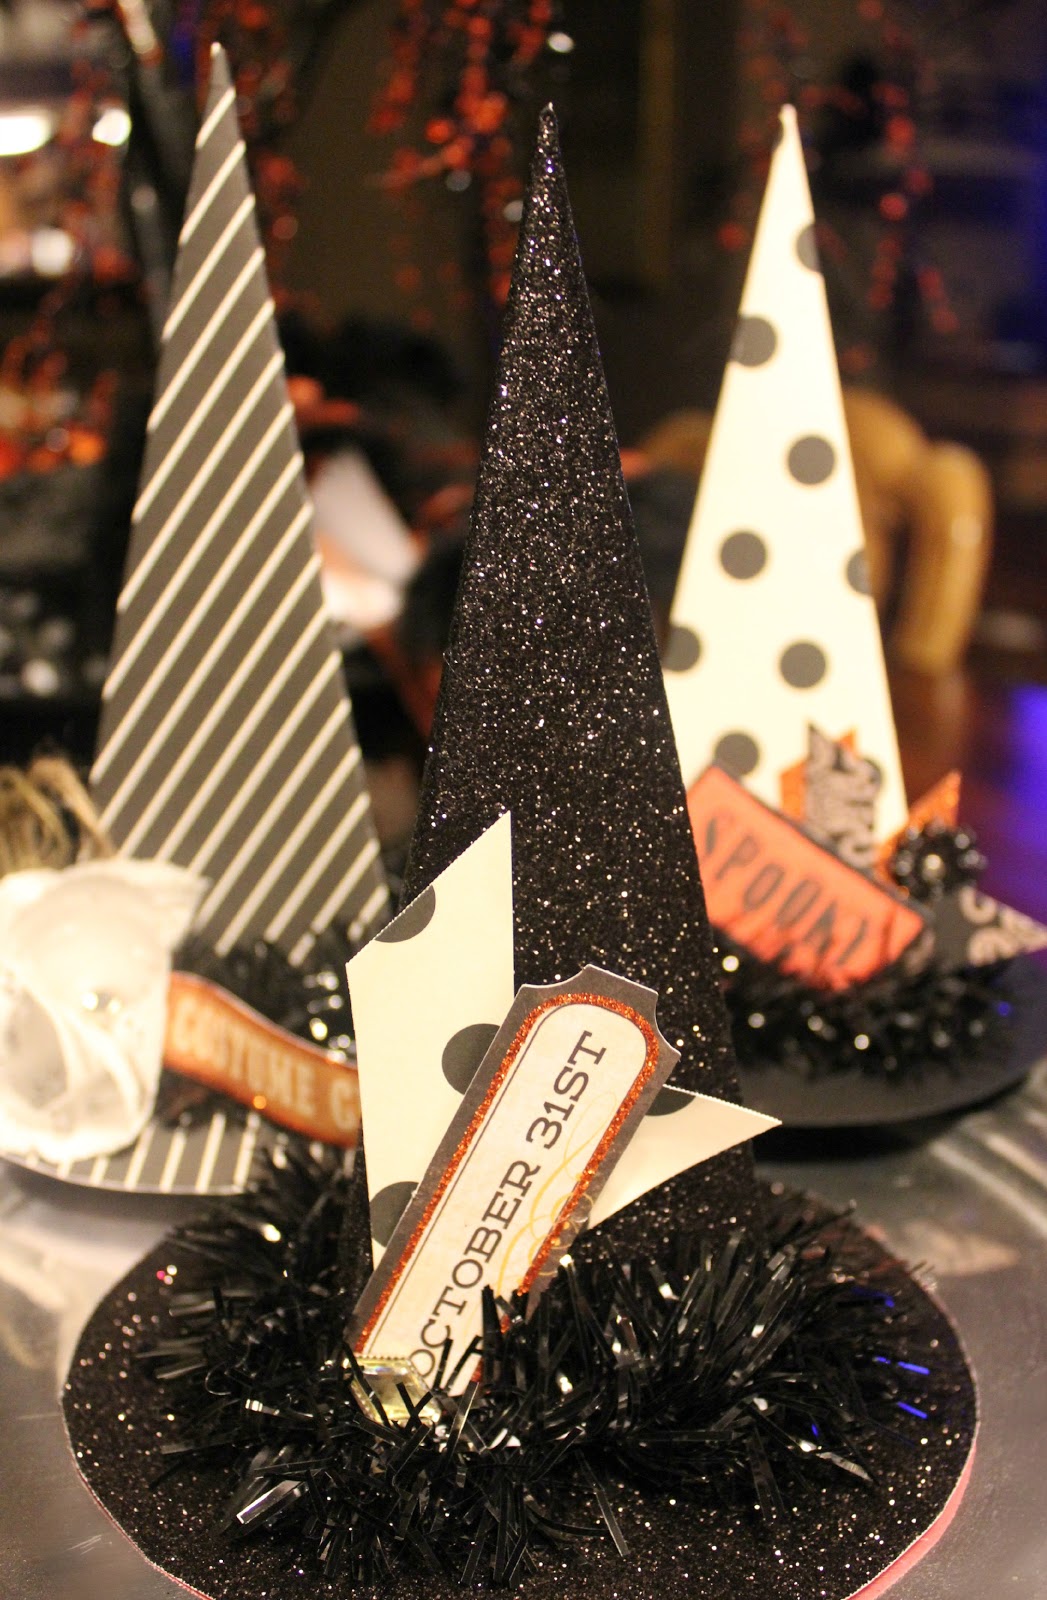
Candy filled Hanging Halloween Paper Cones

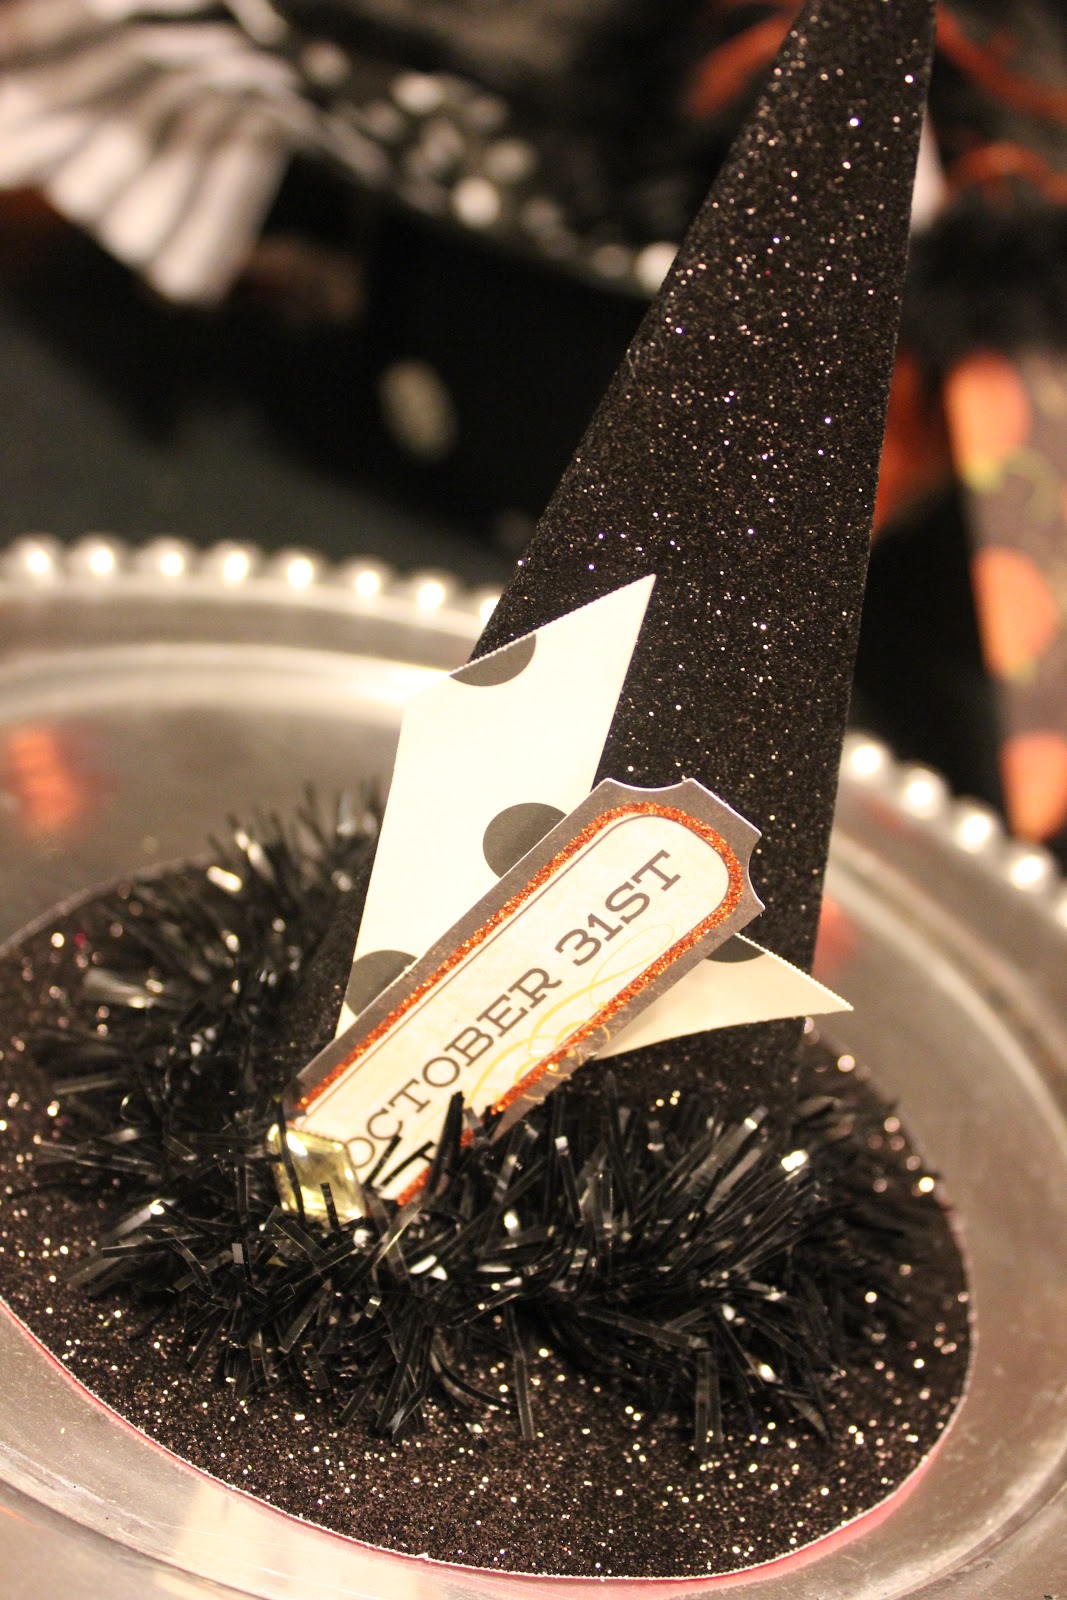
Treat Stuffed Paper Witch Hats
Either way they are darling! Both begin the same way. With a 12"X 12" piece of paper. Cut in half diagonally.

Turn the paper right side down. Fold the 45 degree angles (1 & 3) together. Open the fold to see crease.

Fold both sides down at the 90 degree angle (2) to match the middle crease.


Now, refold the original center fold.

Lay it on a flat surface and using a straight edge mark a straight line at the top of the "cone" and cut off excess paper


They are all fantastic.....and make my heart happy!


Oreo Cookie. I love me an Oreo Cookie...especially a cute one!
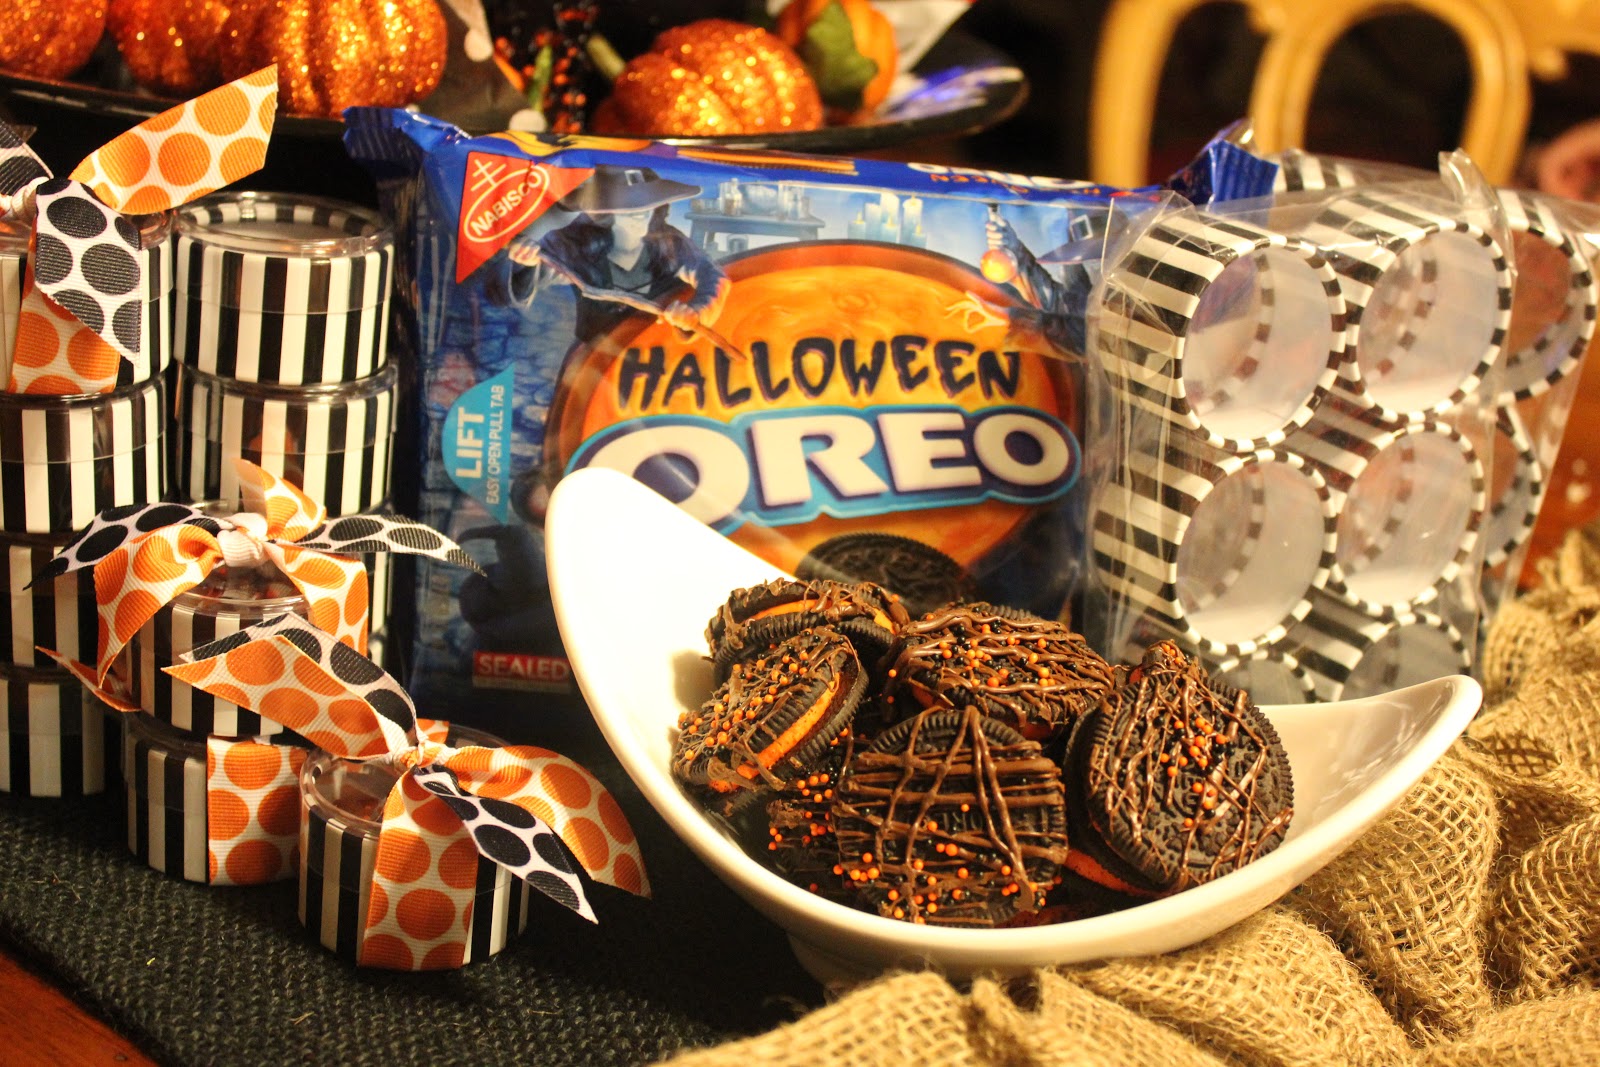
I found these adorable striped candy containers at the craft store. They are the perfect size for an Oreo cookie. It is all in the presentation.


The drinks are not only darling but taste fantastic! They are a mixture of Walmart Pineapple Soda, (surprisingly delicious BTW!) Diet Crush, and whipped cream. It is really good! The kids love these!


this makes me homesick! I love your creativity!
ReplyDelete