Thursday, September 27, 2012

QUICK TRICKS FOR A TREAT BAG

Easy, Easy, Easy...and so much fun!  I made all of these bags in one hour.  You can too!


I made these Trick-or-Treat simply because I could.  happy.   My children would proudly carry a pillow sack to "Trick-or -Treat" with...heck, they would be perfectly happy to "Trick-or-Treat" with a Walmart plastic bag!  I admit...I am an obsessive mother and will feel sooo much better with KILLER sacks! 

I began with Halloween themed place mats, a little ribbon (ok, a lot of ribbon, that's how I roll!) and my sewing machine.

This first one was made with just one place mat.  I makes a smaller bag but, is perfect for any little Trick-or-Treating.  First, I measured out ribbon for the handles.  Pinned the ribbon in place and sewed them on. 

 Next, I folded the place mat right sides together and sewed it up both sides. 

Next, pinch the newly sewn side to the bottom.  This will be sewn to create a bottom for the bag. 


This will create a nice bottom for the bag.  

Once the bag is turned right side out, the corners and edges of the bag are really nice.


I like this little bag.  Well....ALMOST!  
After a few bows...it will be perfect. 


I tied the bows and pinched the loops down.  
Next...however wrong it may seem to any real "sewer"...I hot glued the ribbon to the bag.  I hot glue lots of stuff...so what!?!


I simply lined them up and glued them on! EASY...LOVE HOT GLUE!
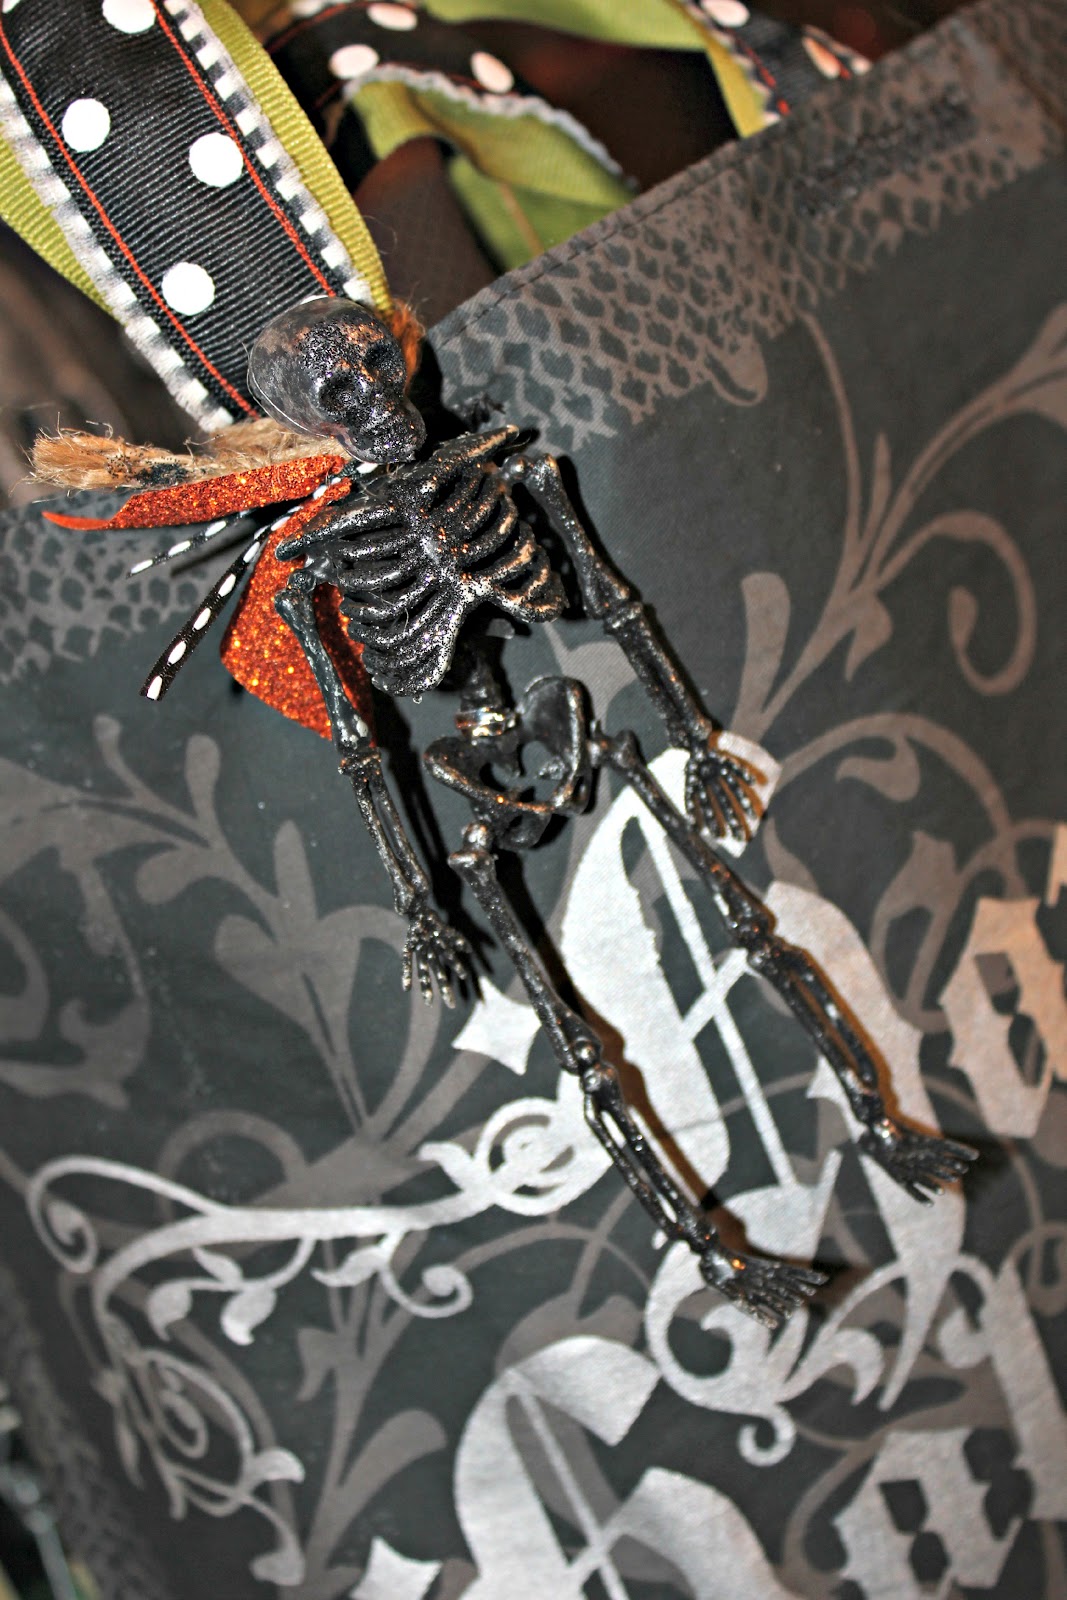
And of coarse...the little skeleton man had to make an appearance...he is on everything else this year.  Why not the bag!?!


 Now, I LOVE THE BAG!  My Halloween dreams are coming true!
My son  wanted in on the action too. He is a little older and figured his bag should be bigger than his sisters, of course!  And to quote him exactly, "NO bows!" Alright, alright...I can accommodate the little guy.  His turned out quite "manly".  Well, as "manly" as a bag can be.  He was pleased.

This bag was made with two place mats.  I kept the positioning of the mats so the bag was wider and not so deep.  This way the darling writing was readable.  I did, however, insist there were a "few" decorative details.  I "fancied" up the straps by layering ribbon and added my token skeleton man to the handle.  He was happy with these additions.  
Restraint is difficult for me and I feel like I was able to accomplish that with this bag...I am so proud of myself. It was so hard for me to not go over board. I made up for it with the next bag!!!!  A little excessive I'll admit, BUT I do love it!
This was made from two place mats turned so the short side is the top.  It made for a deeper bag. 

I turned the edges down before I sewed the place mats together.  I liked the look of the black at the top.  
Once edges were turned down I put the bag together like I did the others. 

  All that was left was some ruffles.  I love ruffles.  
 
I gathered burlap a burlap ribbon and glued that baby on!  Then a series of bows.
 This bag makes me want to go Trick-or-Treating!  I have not been tempted for quite a long time now but, this bag did it!


 LOVE THESE BAGS!!!  Happy Trick-or-Treating!!!


Monday, September 24, 2012

WHAT'S FOR SUNDAY DINNER? BAKED POTATO SOUP AND OLD WORLD BROWN BREAD


 This Baked Potato Soup is a combo of two different recipes.   Some favorite parts of one and some favorite parts of a another.... TA-DA!...the perfect Baked Potato Soup! This is the best answer to leftover baked potatoes I have ever seen.  The minute Fall seems to be in the air, I bust out the soups. This is a crowd pleaser and can easily be doubled to feed even the biggest families.    It is not particularly "diet" friendly but, a great comfort food.  Have a salad for lunch...this soup is worth it!   I also like to serve it in a "MINI" version.  Not as much guilt!  Either way...be prepared to be deeply satisfied!
 
Baked Potato Soup
 2/3 cup butter
2/3 cup flour
7 cup milk
4 large baking potatoes, baked, cooled, peeled
and cubed (about 4 cups)
3 green onions, thinly sliced
10-12 strips bacon, cooked, drained and crumbled
plus more bacon for garnish, if desired, (I always want more bacon)
1 ¼ cups shredded cheddar cheese
1 cup sour cream
¾ teaspoon salt
½ teaspoon pepper

Melt butter in large Dutch oven or soup pot.  Stir in flour until smooth and bubbly.  Gradually add milk, whisking until thickened.  Add potatoes and onions.  Stir constantly until soup begins to bubble.  Reduce heat and simmer gently for 10 minutes.  Add the remaining ingredients.  Stir until cheese is melted.  Thin a bit with additional milk if it gets too thick.  If desired, garnish with additional bacon and maybe a little more green onion or a sprinkle of additional cheese and serve immediately.

For beginners, these potatoes were baked a couple of days ago. They have been sitting in the fridge just waiting for soup day.   I just peeled them and cubed them into bite sized pieces. 

 Melt butter in a pan add flour.

 Stir until smooth and bubbly.

While stirring, gradually add milk. Whisk until thickened.
Add cubed potatoes and onions.  Stir constantly until soup begins to bubble.  Reduce heat and simmer gently for 10 minutes. 

Add the remaining ingredients. Stir until smooth.  You can thin this soup a bit with milk if it gets too thick.  

Garnish with bacon and a little more green onion or a sprinkle of additional cheese and serve immediately.  
 Serving it in mini flares is sooooo cute.  I stick a half of a piece of the "Brown Bread" into the soup.  It is so good!
What is "Old World Brown Bread"?   Well...I will tell you...it is DELICIOUS!  A first glance at the ingredients and you might think you were looking at the beginnings of a killer dessert...NOPE!  It is a RRRREEEAAALLLYYYY good bread! My children love this dark little bread. My son thinks I can make the dark bread that "Outback" serves...I am personally offended...mine is MUCH better!!! :]


Old World Brown Bread 

2 tablespoons yeast, 2 cups hot water,pinch of sugar

4 tablespoons cocoa powder
3 to 3½ cups flour (more or less)
2 ½ cups whole wheat or rye flour
1 cup brown sugar
1 tablespoon molasses
2 teaspoons salt
4 tablespoons oil
2 tablespoons gluten (optional) (to be honest, I never put it in.)

Dissolve yeast in water with pinch of sugar.  While the yeast is “working”, prepare the cocoa, brown sugar, salt, oil, gluten and whole-wheat flour.  Mix thoroughly into the yeast mixture with beater attachment.  Change to the dough hook and add the white flour, reserving the last ½ cup to the end.  Let it mix for about five minutes.  Let the dough rise in warm place until double in bulk (about two hours).  Punch dough down and form into four small round loaves.  Let them rise on baking sheet until double.  Bake at 350 for 30 minutes.
Prepare cocoa, brown sugar, salt, oil, gluten (if desired) and whole-wheat flour.  
Once the first ingredients are mixed well, add the white flour. Let mix for five minutes.


Put dough in a bowl and cover lightly with plastic wrap.  Let rise until double the size.  
Once the dough has doubled in size, "punch" dough down and form into four small round loaves.  


Place on baking sheet for final rise, until doubled in size again.  
Bake at 350 for 30 minutes.  Cool.   I am usually cooking for so many people that I double this recipe every time.   Plus, I can always think of someone who might like getting a loaf of yummy bread.  *As a side note, this bread freezes really well. 

 Is there anything better than homemade soup and fresh warm bread?  NOPE!
ENJOY!

Saturday, September 22, 2012

NO SEW BURLAP BOW TABLE RUNNER

Burlap is one of the easiest fabrics to work with!  It is very forgiving and can be manipulated in many ways.  If the bizarre smell or the "scratchy-ness" does not bother you...you are in business for a easy project! Believe me, I like to sew as much as the next guy but...any time I don't have to drag the old beast of a machine out I am happy!

I began by my measuring my table to figure out how big I wanted to make the runner.  Once I had those numbers I added about 8 inches to all four sides.  These additional inches enabled me to tie bows with ease.  I began at one side of the runner and pulled out strands of burlap.  I could only do a couple at a time. 

At this point I left all the other sides intact.  I didn't want the whole thing to fall apart! Then I just start making bows.  I used about between 16 and 20 strands per bow.  To be honest, I didn't count.  I just used what felt right.  That's how I do everything...it may drive some of you nuts...BUT, that is the way I work.  SORRY!


Once I had the first side all bowed, I pulled the thread from the other side and bowed that side. 
I just continued these steps until all four sides were bowed.  I think the most important thing was to only unravel one side at a time.  This kept everything neat and easy to handle.

I really like the burlap on a stark white table cloth.  I think it looks clean and simple.  Sometimes...just sometimes simple appeals to me!  This is one of those times.
I was really happy with how the corners turned out.  It lays great! 
I did have to do a little ironing to help the bows lay flat...it was worth the little bit of extra work!
This runner makes my heart happy!